
Shooting Commercial Videos: A Practical Guide for Small Crews

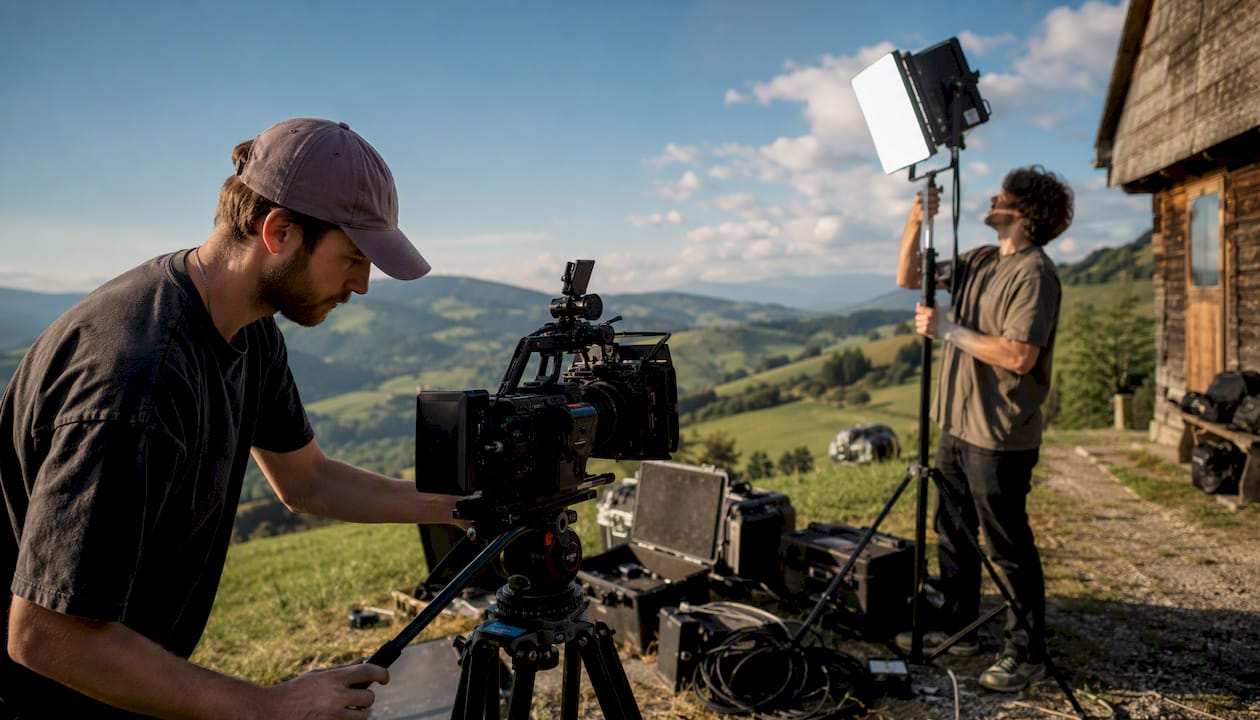
To shoot a commercial video that converts, lock in a performance brief, build a compact coverage plan, and edit to native platform pacing before you touch a camera. That single decision sequence separates ads that hold attention from ones that get skipped at second seven. Whether you’re a solo shooter or running a crew of four, the workflow below gives you a reliable production process you can repeat.
Before anything else, confirm these five things:
Single objective and CTA: every commercial has one job — awareness, click, or purchase. Write it at the top of your brief.
Funnel stage and runtime: top-of-funnel (TOF) content runs short-form; mid-funnel (MOF) and bottom-of-funnel (BOF) can be longer to allow for proof and offer detail.
Core shots: plan for multiple shot types including wide, medium, close-ups, and several B-roll cutaways per scene.
On-set audio check: record a room-tone sample before talent arrives and run a lavalier level check on every new setup.
Delivery specs: confirm the appropriate aspect ratio and resolution required by the platform before the shoot, not after.
For international shoots where logistics could derail any of the above, Videoproductionswitzerland handles permits, crew sourcing, gear coordination, and location logistics so your team stays focused on the creative.
Table of Contents
What does solid pre-production look like for a commercial shoot?
Phone, mirrorless, or cinema camera: which one fits your shoot?
What lighting and sound setups work reliably on a commercial set?
How do you plan shot coverage that gives your editor everything they need?
How do you get a commercial from raw footage to final delivery?
What does solid pre-production look like for a commercial shoot?
Professional video production follows a structured multi-phase workflow where the brief and script determine the quality of everything downstream. Skipping pre-production doesn’t save time — it creates reshoots.
Writing a one-page performance brief
Your brief should answer four questions in one page: What is the single KPI this asset must move? Who is the audience and what funnel stage are they at? What is the hook concept? What is the CTA? Tie every creative decision back to a metric — hook rate, hold rate, or conversion — so the edit has a measurable target, not just a vibe.
Top brands build stage-specific briefs and tag each asset by funnel stage because a single hero video cannot serve all funnel jobs. A TOF spot arrests attention. A MOF spot handles objections and shows proof. A BOF spot drives urgency with a clear offer. Write a separate brief for each.
Script templates by runtime
6–15s: Hook (0–3s) → single benefit or problem statement (3–10s) → CTA (10–15s). No more than two sentences of spoken copy.
15–30s: Hook → problem → benefit → proof point → CTA. One visual transition per beat.
30–60s: Hook → problem → benefit → two proof points or testimonial → CTA → brand close. Allow one cutaway per 10 seconds.
For storyboards, a simple three-panel sketch per scene is enough for a small crew. Draw the frame shape (16:9 or 9:16), mark the subject position, and note camera movement. It takes 20 minutes and prevents half a day of on-set confusion.
Sample shot list and coverage plan
Scene | Shot Type | Notes |
Product hero | Master (wide) | Establish context, full product in frame |
Product hero | Medium | Waist-up or product fill-frame |
Product hero | Close-up | Label, texture, key feature |
Talent line read | Medium | Eye-line slightly off-lens |
Talent line read | Close-up | Reaction and emphasis |
B-roll | Cutaway x3 | Lifestyle, hands-on-product, environment |
Location, permits, and legal clearances
Confirm location access, noise restrictions, and permit requirements at least two weeks before the shoot. For commercial shoots on public property in the United States, most cities require a film permit — lead times range from 3 to 10 business days depending on the municipality. Get signed talent releases before the camera rolls, not after. If your script references music, brand logos, or third-party footage, clear copyright before production. A one-sentence reminder: consult a qualified entertainment attorney for any rights question that isn’t clearly resolved by a signed release.
Pre-production timeline for a small commercial shoot
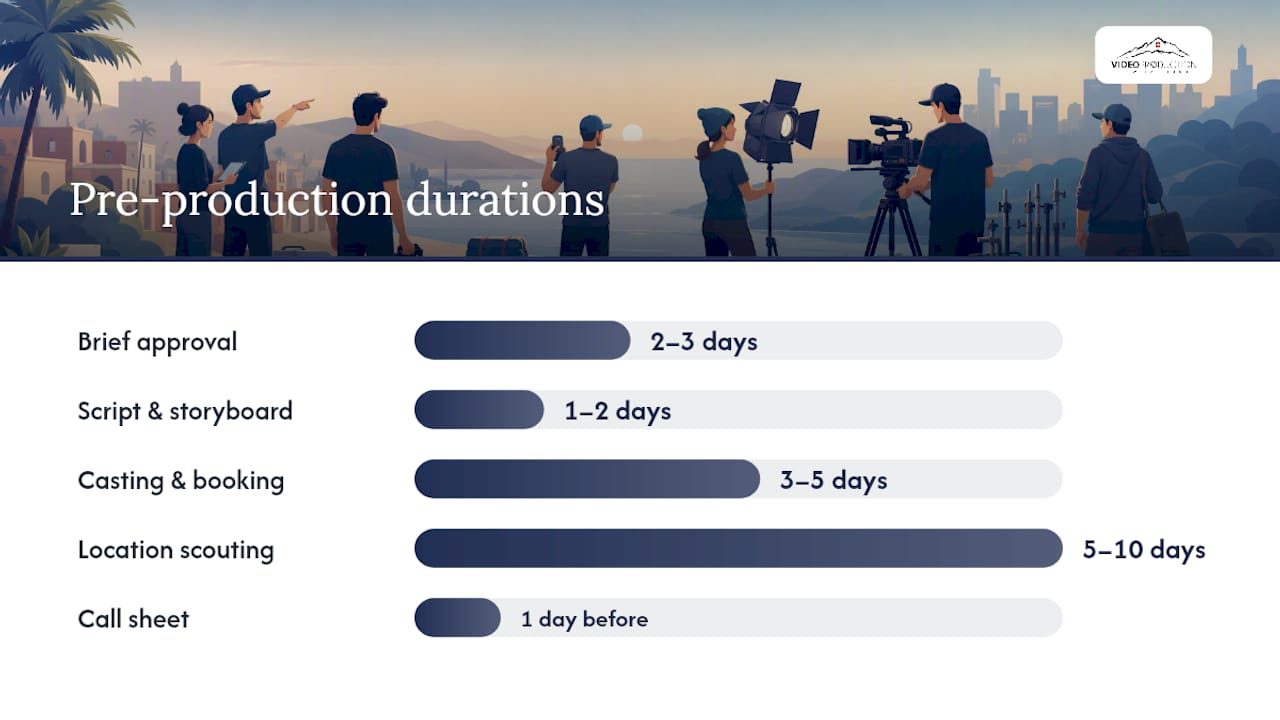
Task | Typical Duration |
Brief and concept approval | 2–3 days |
Script and storyboard | 1–2 days |
Casting and talent booking | 3–5 days |
Location scouting and permits | 5–10 days |
Gear and crew confirmation | 2–3 days |
Call sheet distribution | 1 day before shoot |
Pro Tip: Lock two camera moves that cover multiple angles before you change the lighting rig. A push-in on a 50mm and a static wide on a 24mm can cover master and medium in the same setup — cutting your lighting-change count in half.
How do you run a smooth shoot with a small crew?
A four-person crew can cover every role a commercial needs. The key is clear decision ownership before anyone arrives on set.
Core crew roles and responsibilities
Producer/AD: owns the schedule, call sheet, and script changes. Only this person approves deviations from the shot list.
Camera operator: owns framing, focus, and metadata (slate, file naming). Calls “speed” and “cut” in coordination with the AD.
Sound recordist: owns lavalier placement, boom positioning, room tone, and backup recording. Flags audio issues before the take is approved.
Gaffer/lighting: owns the lighting rig, continuity between setups, and power safety. Confirms each setup matches the storyboard reference.
One-person workflow
Solo shooters can capture usable commercial footage by following a strict order of operations:
Set and lock the camera on a tripod or gimbal before adjusting audio.
Attach the lavalier to talent, run a level check, and arm the recorder.
Frame the shot, confirm focus, then slate with a verbal cue (date, scene, take).
Capture the master take, then reframe for medium and close-up without moving talent.
Capture B-roll last, when lighting is already set.
Many high-performing video ads are shot on phones with natural light — production value does not equal ad performance on cold traffic. A disciplined one-person workflow on a phone often outperforms a disorganized multi-camera setup.
On-set time management
Organize your shot order to minimize lighting changes. Shoot all coverage in one lighting setup before moving to the next location or rig. Use a physical call sheet with times, not a mental list. Run a quick slate routine: camera roll, sound roll, scene/take number, clap. This metadata saves hours in post when you’re sorting 200 clips.
Pro Tip: Record a dual-system audio backup on every take — lavalier into the camera and a separate recorder simultaneously. If the camera audio clips or the lav shifts, you have a clean backup without a reshoot.
Phone, mirrorless, or cinema camera: which one fits your shoot?
The right camera is the one that matches your delivery specs, budget, and crew size — not the most expensive option available.
Decision framework
Before choosing a camera, answer these four questions: What is your delivery platform and required resolution? Do you need shallow depth of field for a premium look? How much dynamic range does your lighting situation demand? Does your crew have the bandwidth to manage a complex codec?
Practical comparison
Phone (iPhone 15 Pro, Pixel 8 Pro): shoots 4K, handles natural light well, integrates audio via adapter, and produces native vertical 9:16 content. Best for lo-fi TOF ads, UGC-style content, and one-person shoots. Limitations: limited dynamic range in high-contrast scenes, no interchangeable lenses without an adapter.
Mirrorless/DSLR (Sony FX30, Canon R7, Fujifilm X-S20): strong dynamic range, interchangeable lenses, clean HDMI out for external recording. Best for mid-budget commercials where a polished look matters. Limitations: requires external audio recorder for best sound quality.
Cinema camera (BMPCC 6K, Sony FX6, RED Komodo): maximum dynamic range, RAW recording, professional lens ecosystem. Best for broadcast-quality spots and high-end brand work. Limitations: larger crew, longer post workflow, higher rental cost.
Essential accessories
Stabilization: a three-axis gimbal (DJI RS 3, Zhiyun Crane 4) for moving shots; a fluid-head tripod for static setups.
Lenses: a 24mm or 35mm for masters and environments, a 50mm or 85mm for talent close-ups.
Audio: a lavalier (Rode Wireless GO II) for talent, a shotgun mic (Rode NTG3) for ambient and B-roll, a portable recorder (Zoom H5) for backup.
Pro Tip: Rent before you buy for any camera body above $2,000. A one-day rental from LensRentals or BorrowLenses lets you test the codec, ergonomics, and audio integration on a real shoot before committing. Inspect rental gear by recording a 60-second test clip and checking for dead pixels, audio hum, and autofocus hunting before you leave the rental house.
For file formats: shoot in at least 10-bit color if your camera supports it, use H.265 or ProRes for delivery masters, and always record at 1080p minimum (4K preferred) so you have reframe flexibility in post.
What lighting and sound setups work reliably on a commercial set?
Fast, repeatable rigs save shoot days. Three setups cover the majority of small commercial productions.
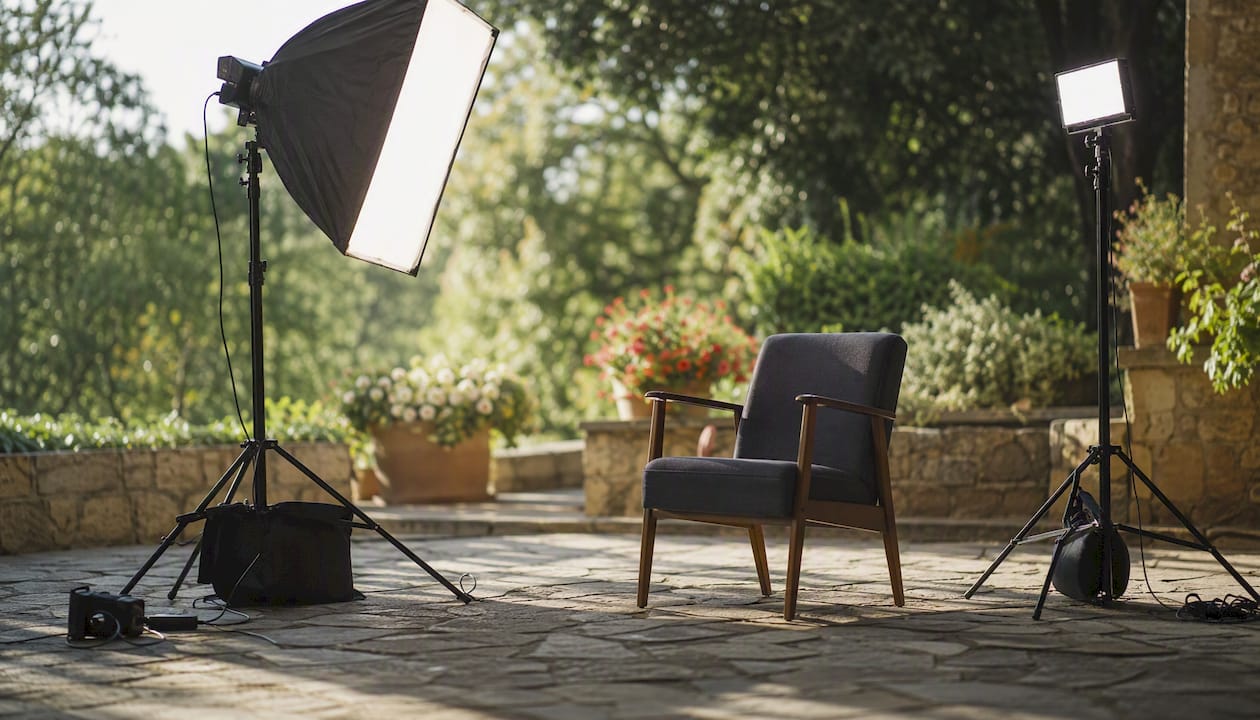
Three repeatable lighting setups
1. Natural-window fill (zero-cost, 5-minute setup) Position talent 3–4 feet from a large window, perpendicular to the glass. Place a white foam-core reflector on the opposite side to fill shadows. Add a small LED panel behind and above talent for a subtle hair light. Works for interviews, product demos, and lifestyle content.
2. Two-light key+fill for interviews Key light: a large softbox (60x90cm) at 45 degrees to talent, slightly above eye level. Fill light: a smaller LED panel at 50% power on the opposite side. Add a practical (a lamp or LED strip) in the background for depth. Setup time: 15–20 minutes. This rig is repeatable across locations with consistent results.
3. Fast product table rig Shoot on a white or black sweep. Place a large diffused LED panel overhead and slightly forward. Add a strip light on each side for edge definition. Use a macro lens or phone with a clip-on macro for close-up texture shots. Setup time: 10 minutes.
Sound checklist
Place the lavalier 6–8 inches below the chin, hidden under a layer of clothing to reduce rustle.
Position the shotgun mic 12–18 inches above the frame line, angled down toward the mouth.
Record 60 seconds of room tone at the start of each new location.
Run dual recording: lavalier into camera, backup into a separate recorder.
Check headphones on every new setup — don’t trust the camera meter alone.
Meta often defaults to muted playback on social placements, so clean audio matters less than you think for the first watch — but it matters enormously for completion rates and brand perception on repeat views.
Pro Tip: For beverage and food shoots, use plastic ice cubes instead of real ones. Real ice melts under hot lights within minutes, ruining continuity and forcing reshoots. Plastic ice looks identical on camera and holds its shape all day.
How do you plan shot coverage that gives your editor everything they need?
Coverage is insurance. The more angles you capture in a consistent lighting setup, the fewer reshoots you need.
Composition rules for commercials
Rule of thirds: place the subject’s eyes on the upper horizontal third, not dead center. This creates natural visual tension and directs attention.
Headroom: leave one-third of the frame above the subject’s head in medium shots. Too much headroom reads as amateur; too little feels claustrophobic.
Lead room: when talent looks or moves off-screen, leave space in the direction of their gaze.
Vertical framing for 9:16: center the subject vertically, keep text-safe zones clear in the top and bottom 15% of the frame, and avoid wide establishing shots that lose detail on a phone screen.
Native-style vertical 9:16 content with ambient sound and jump cuts often outperforms polished studio production on cold traffic — so frame for vertical first, then crop to 16:9 if needed, not the reverse.
Coverage plan per scene
For a 10–20 second scene, capture:
1 master (wide, full context)
2 mediums (slight angle variation between them)
2–3 close-ups (product detail, face, hands)
3–5 B-roll cutaways (lifestyle, environment, product interaction)
A coverage ratio of 3:1 (three minutes of footage per one minute of finished ad) gives editors enough material without drowning them in clips.
Directing non-actors
Give talent a physical action to anchor each line read — “pick up the product as you say the first word.” Physical anchors reduce self-consciousness and produce more natural performances. Aim for usable takes within three attempts by adjusting one variable per take: energy level, pace, or eye-line. More than five takes on the same line usually means the script needs a rewrite, not more rehearsal.
Continuity checklist: confirm wardrobe, hair, and prop positions match between takes. Photograph the set at the start of each setup with your phone. Log file names and scene numbers on the slate — this metadata makes the assembly edit 40% faster.
What ad structure and pacing actually protect retention?
The single most important edit rule for short ads: a visual or audio cut every ~1.5–2.5 seconds through the 5–15 second window prevents the second-seven skip and keeps hold rate high. Everything else in the edit serves that rhythm.
The “second-7 problem” is real: viewers make a skip decision around 7–9 seconds into an ad. Denser edits or a micro-proof (a quick testimonial clip, a result stat, a product close-up) in that window delay the skip reflex long enough to deliver your benefit message.
The Hook → Problem → Benefit → CTA sequence is the most reliable structure for short performance-focused commercials. Here’s how it maps to runtime:
Spot Length | Hook | Problem | Benefit | Proof | CTA |
6s | 0–2s | — | 2–4s | — | 4–6s |
15s | 0–3s | 3–6s | 6–15s | — | 10–15s |
30s | 0–3s | 3–8s | 8–18s | 15–30s | 15–30s |
Funnel stage determines the brief: TOF ads focus exclusively on arresting attention, MOF ads handle objections and show proof, and BOF ads drive urgency with a clear offer. Tag every asset by funnel stage before it goes into the edit — this prevents the common mistake of using a BOF retargeting ad as a cold-traffic awareness spot.
Pro Tip: Test hooks first, then CTAs, then visuals — in that strict order. Shoot three to five hook variants in the same session (different opening lines, different first frames) and run them as isolated A/B tests before committing to a full edit. This approach produces reliable learnings instead of noise, and it costs almost nothing extra on shoot day.
How do you get a commercial from raw footage to final delivery?
Post-production is where the ad is actually built. A disciplined editing checklist prevents the most common delivery failures.
Editing checklist
Assembly pass: lay down all selects in script order. Don’t cut yet — just confirm you have coverage.
Pacing pass: cut to the ~1.5–2.5 second rhythm. Remove any shot that doesn’t advance the story or the product message.
Trim pass: tighten handles, remove breath gaps, and confirm the CTA lands in the last 20% of the runtime.
Audio pass: level dialogue at –12 to –6 dBFS, music bed at –18 to –24 dBFS, and sound effects at –10 to –14 dBFS.
Color pass: apply a base LUT, match shots within each scene, and confirm skin tones are consistent across cuts.
QC pass: check captions are accurate, burn-in text is legible on mobile, and the file size meets platform limits.
For a deeper look at how to structure the full editing process, the video post-production workflow guide covers assembly through archive in detail.
Deliverable presets by platform
Platform | Aspect Ratio | Resolution | Codec | Max File Size |
Meta Reels | 9:16 | 1080p vertical | H.265 or ProRes | 4 GB |
TikTok | 9:16 | 1080p vertical | H.265 or ProRes | — |
YouTube pre-roll | 16:9 | 1080p horizontal | H.265 or ProRes/VP9 | No hard limit |
Meta in-stream | 16:9 or 1:1 | 1080x1080 | H.265 or ProRes | 4 GB |
Captions and muted-first storytelling
Because Meta often defaults to muted playback, captions are not optional — they’re a conversion tool. Burn captions directly into the video file for placements that don’t support sidecar SRT files. Keep caption text large enough to read on a 5-inch phone screen and position it in the lower third, clear of any UI overlays.
Client feedback and revisions
Structure revisions in two rounds maximum: one for structural changes (pacing, sequence, missing shots) and one for fine-tuning (color, audio, text). Use a shared review platform like Frame.io or Vimeo Review to consolidate feedback in one place and prevent email chains that lose context. Name files with a consistent convention: ProjectName_Version_Date_Platform.mp4 — for example, BrandX_v2_20260315_MetaReels.mp4. This naming convention prevents cross-platform bitrate errors and makes archive retrieval straightforward.
Pro Tip: Export a low-res proxy (720p, H.265 or ProRes) for client review and the full-res master for delivery. Clients reviewing on phones can’t tell the difference, and you avoid uploading 10 GB files for feedback rounds.
Sample 1-day commercial shoot timeline and checklist
A single shoot day for a small commercial (one to two scenes, one talent, one location) runs roughly eight hours. Here’s how to structure it.
Shoot-day checklist
Confirm call times with all crew the night before.
Charge all batteries and format all media cards before leaving for location.
Pack backup cards, a spare battery for every device, and a portable power bank.
Bring a printed call sheet and shot list — phones die.
Confirm audio gear is functioning before talent arrives.
Photograph the set at the start of each lighting setup for continuity reference.
Back up all footage to a second drive before leaving the location.
Sample 1-day timeline
Time | Activity |
7:00 | Crew call, load-in, location setup begins |
7:30–8:30 AM | Lighting rig and camera setup, audio check |
8:30–9:00 | Talent arrival, hair/makeup, wardrobe check |
9:00–11:30 | Scene 1: master, mediums, close-ups |
11:30–12:00 | B-roll for Scene 1 |
12:00–12:30 | Lunch break |
12:30–1:00 | Lighting reset for Scene 2 |
1:00–3:30 | Scene 2: master, mediums, close-ups |
3:30–4:00 | B-roll for Scene 2, pickup shots |
4:00–4:30 | Wrap, gear breakdown, media backup |
When time runs short, always shoot close-ups and dialogue line reads first. Wide masters can be reconstructed with B-roll in the edit; a missing close-up or a flubbed line read cannot.
Key Takeaways
A commercial video that converts requires a performance brief, a disciplined coverage plan, and platform-native pacing — not a bigger budget or a larger crew.
Point | Details |
Brief before camera | Write a one-page performance brief tied to a single KPI and funnel stage before any gear is booked. |
Cut cadence matters | Edit to a visual or audio cut every ~1.5–2.5 seconds through the 5–15 second window to protect hold rate. |
Coverage ratio | Capture at least 3:1 footage ratio per scene — master, two mediums, two close-ups, and three to five B-roll cutaways. |
Deliver for muted playback | Burn captions into the file for Meta placements; muted-first storytelling protects completion rates. |
Videoproductionswitzerland | For international shoots requiring permits, trusted crew, and logistics management, Videoproductionswitzerland provides full-service production support. |
The production mistakes that cost the most time and money
The most expensive problems on commercial shoots are almost never creative failures. They’re operational ones — and they’re predictable.
Missing hook-testing is the most common. Teams spend the entire budget on one polished version of a spot, then wonder why it underperforms. The fix is simple: shoot three to five hook variants on the same day, in the same lighting setup, with the same talent. The incremental cost is 20–30 minutes of shoot time. The upside is a reliable A/B test that tells you which opening actually arrests attention before you commit to a full media buy.
Poor coverage is the second most common problem. Editors call it “painting themselves into a corner” — there’s a master and a medium, but no close-up of the product, no cutaway to break a jump cut, and no reaction shot to cover a line edit. The coverage plan in this guide exists specifically to prevent that. Three B-roll cutaways per scene is a minimum, not a suggestion.
Audio failures are quieter but just as damaging. A lavalier that rustles on every take, a location with HVAC noise that wasn’t checked during the scout, a recorder that wasn’t armed — these problems surface in post when there’s no time or budget to fix them. The dual-recording habit (lavalier into camera, backup into a separate recorder) costs nothing and has saved more than a few shoots from complete audio loss.
Wrong delivery specs are the final category. Delivering a 16:9 master to a platform that requires 9:16, or a file that exceeds TikTok’s size limit, or a spot without burned-in captions for a Meta placement — these are avoidable with a 10-minute pre-delivery QC checklist. The deliverable presets table above covers the most common platforms.
When outsourcing your production support makes sense
For shoots that cross borders or require local logistics you can’t manage remotely, the cost of getting it wrong — a missed permit, a crew no-show, gear that doesn’t arrive — far exceeds the cost of professional production support.
[
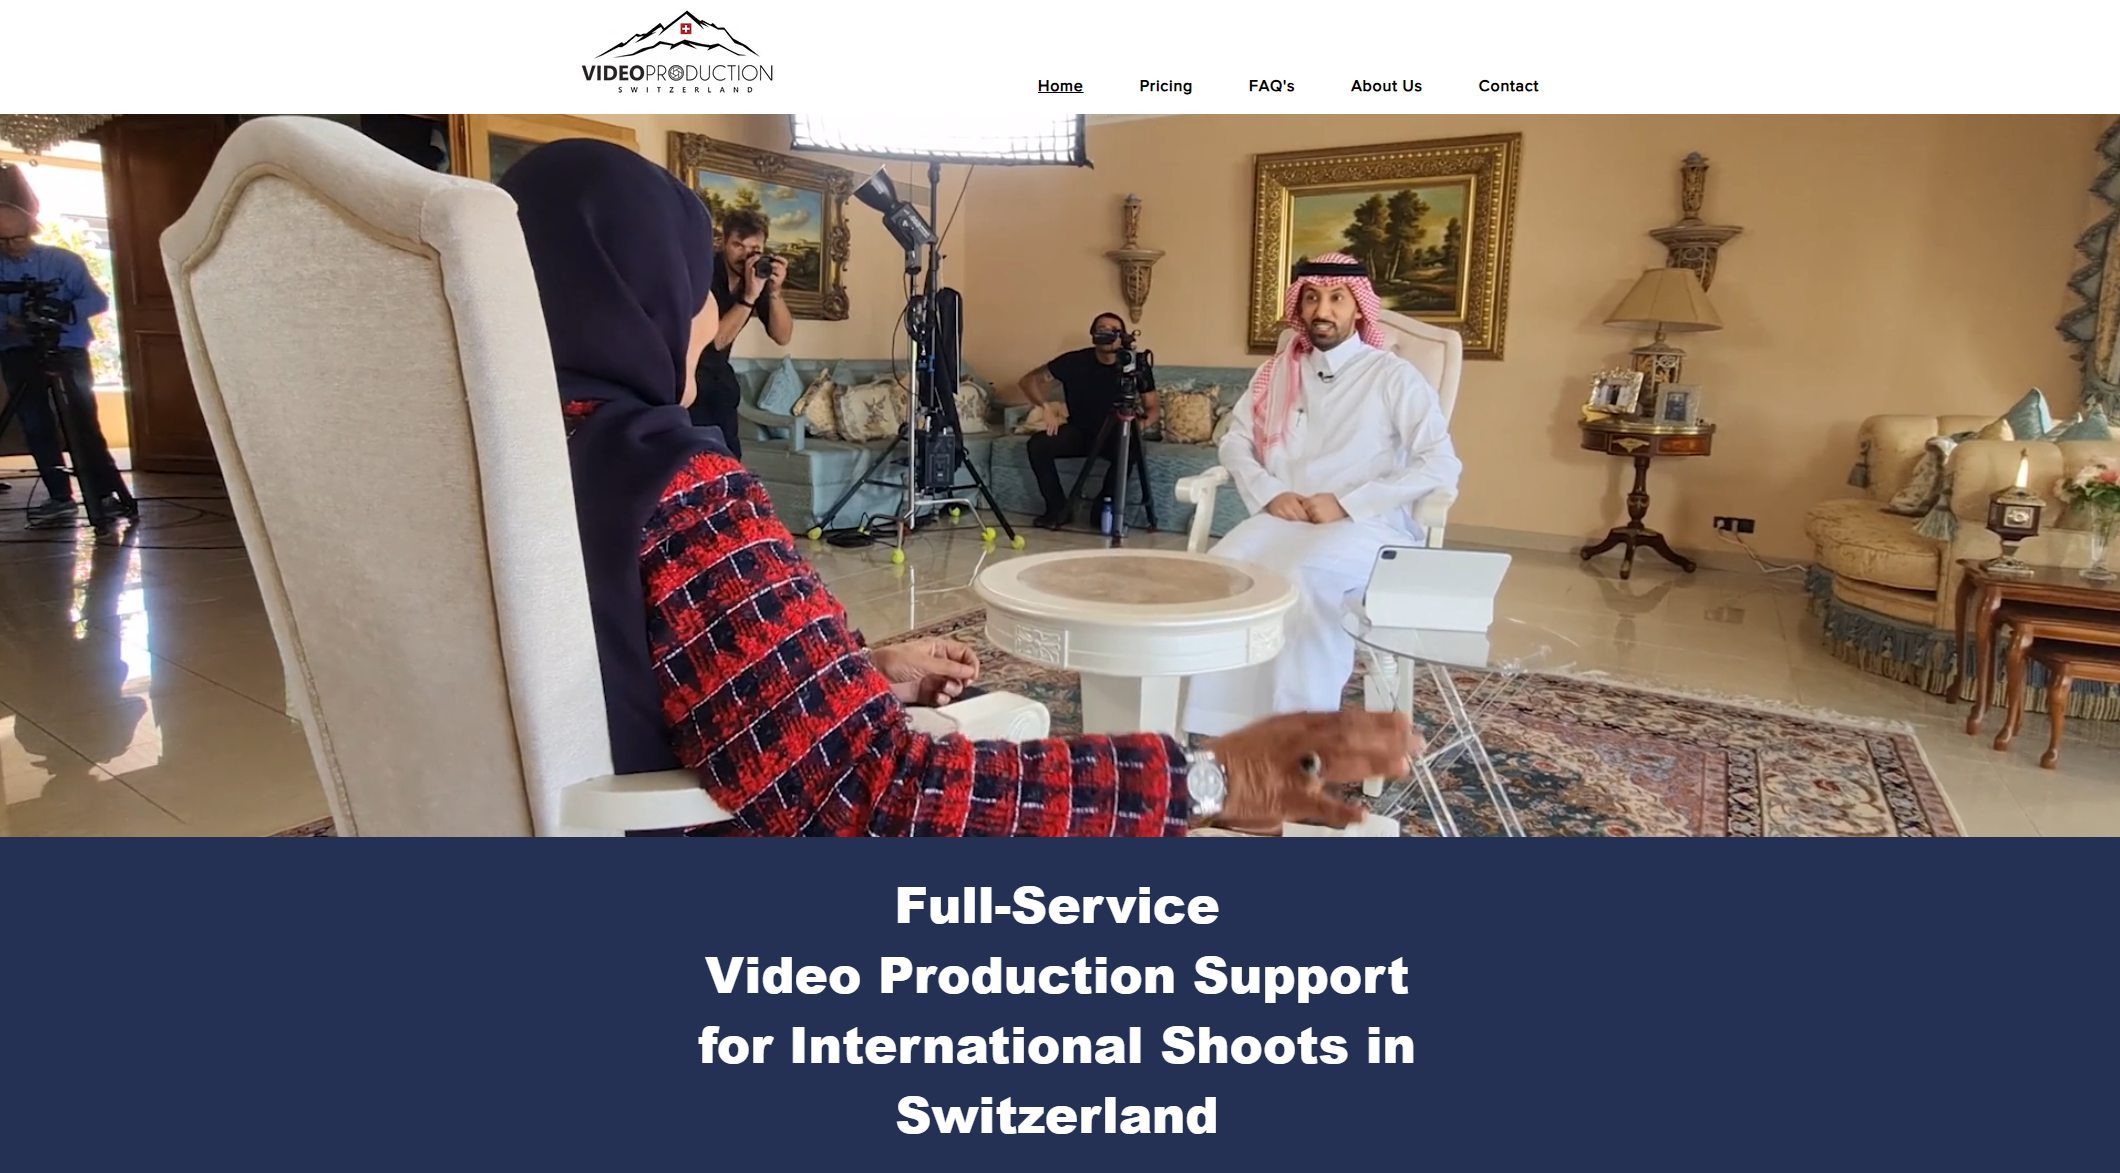
Videoproductionswitzerland provides full-service production support for international crews shooting in Switzerland: permit handling, trusted local crew sourcing, equipment rental coordination, location scouting, accommodations, and on-the-ground logistics management. With over 20 years of experience in the Swiss market, the team takes the operational complexity off your plate so your creative team stays focused on the shoot, not the paperwork.
Cost drivers for international commercial shoots include crew size, location permit complexity, and equipment rental scope. For a clear picture of what to expect, the video production costs page breaks down typical budget ranges and what each line item covers.
To discuss your shoot requirements and get a production estimate, reach out through the main service page for a free initial consultation.
Further reading and sources
The recommendations in this guide draw from platform specification pages, ad performance research, and production workflow references. The sources below are worth bookmarking for deeper detail.
Video Ads in 2026: Hooks, Specs, and Native Pacing — the primary source for cut cadence guidance, the second-7 problem, and native lo-fi content performance data.
How to Create Video Ads That Perform — practical production advice on phone-first workflows and muted-playback caption requirements.
How to Build a Brand Video Ad That Converts at Every Funnel Stage — funnel-stage brief strategy and asset tagging guidance.
Video Marketing Strategy: Plan, Produce, And Scale Smarter — the multi-phase production workflow framework and metric-connected asset strategy.
Best Practices for Shooting a Commercial — a concise checklist of commercial production best practices covering planning, gear, lighting, and scheduling.
Recommended
